• Learn critical signs of roof repair needs, including missing shingles and water damage
• Step-by-step guidance on performing a detailed roof inspection with a focus on safety first
• Practical tips on avoiding common mistakes during DIY inspections for reliable upkeep
Identifying Problematic Signs on Your Roof
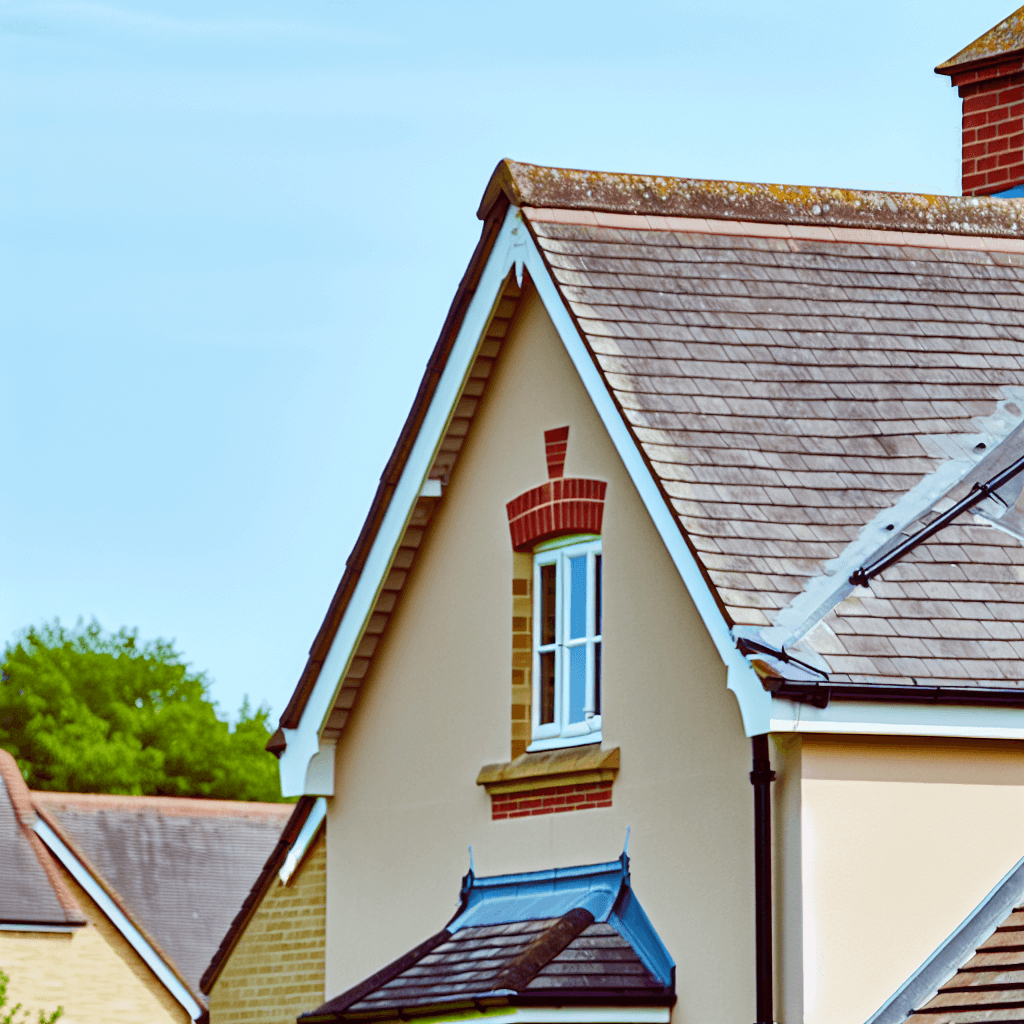
Before embarking on a comprehensive roof inspection, it’s crucial to recognize the early warning signs that your roof may be in trouble. Missing or damaged shingles are a blatant red flag, often resulting from harsh weather conditions or natural wear over time. These gaps expose your roof to water infiltration which can lead to serious structural issues. Thus, keeping a vigilant eye on the condition of your shingles should be your first order of business.
Water Damage: A Silent Threat
Water damage can be a silent adversary, quietly undermining the integrity of your roof without any overt signs until it’s too late. If you notice stains or mold on your ceilings or walls, it’s time to inspect your roof for leaks. Water breaches can stem from a multitude of sources, such as cracked flashing or damaged seals around rooftop installations. Taking prompt action upon discovering these signs is critical to prevent more extensive and costly damage.
Safety: The Foundation of Inspection
Before stepping foot on your ladder, prioritizing your safety is non-negotiable. Don proper safety gear, including secure, non-slip footwear and durable gloves to protect your hands. Remember, inspecting your roof isn’t worth any risk to personal safety — if you’re uncertain or uncomfortable with the heights and requirements of the task, don’t hesitate to contact a professional. Observing safety standards ensures that your inspection efforts contribute to the longevity of your roof without compromising your well-being.
Preparation: Laying the Groundwork for a Successful Roof Inspection
Setting out to inspect your roof, your safety must take top priority. A sturdy ladder and reliable fall protection are the bare essentials; consider a safety harness for added security when climbing. Clear any debris from the roof and gutters before inspection to ensure a hazard-free workspace—this precaution aids in avoiding accidents and provides a clearer view of potential issues. Remember, a cleaner roof surface makes spotting trouble spots, from worn sealant to tiny cracks, that much easier.
Professional Insight: When to Seek Expertise
While a vigilant homeowner can spot many problems, sometimes a professional eye is necessary to detect subtler signs of distress. If you’re unsure about what you’re seeing, or if climbing onto your roof is not an option, Robison Roofing Services, Inc. is your local Oxford ally in ensuring your roof remains in peak condition. They bring the expertise and equipment for a thorough roof assessment, showcasing issues you might miss. Trustworthy roofers will provide transparent evaluations and discuss optimal solutions, whether maintenance, repair, or replacement.
Step 1: Schedule the Inspection
Decide on a time that works best for you, preferably during daylight and good weather, and set a date for your comprehensive roof inspection.
Step 2: Review Safety Measures
Before getting started, ensure you have the necessary safety equipment, such as a sturdy ladder, non-slip footwear, gloves, and eyewear.
Step 3: Examine Roof Surface
Check for signs of visible damage, such as missing, broken, or aging shingles, and note any areas in need of repair.
Step 4: Inspect for Leaks
Look for signs of water intrusion in your attic or ceiling, which could indicate potential leaks that need addressing.
Step 5: Check Flashing and Seals
Inspect the flashing around vents, chimneys, and skylights, making sure the seals are intact and there are no gaps or rust.
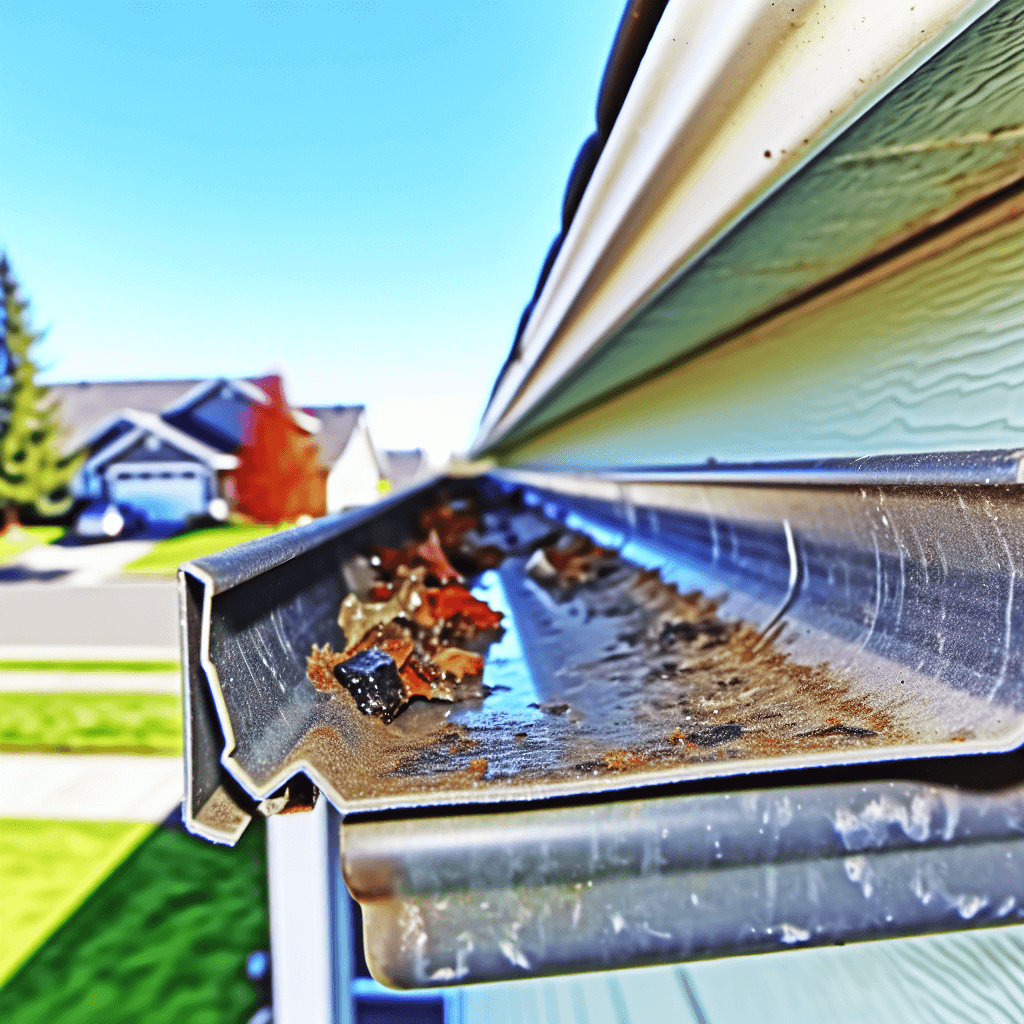
Step 6: Assess Gutters and Downspouts
Ensure gutters and downspouts are clear of debris to prevent water damage and maintain proper drainage from the roof.
Step 7: Look for Moss and Algae
Identify any areas with moss or algae growth, which could trap moisture and degrade roofing materials over time.
Step 8: Document Your Findings
Keep a detailed record of your inspection, including photos and notes, which will be valuable for maintenance or professional evaluations.
Common Mistakes to Avoid During Your Roof Inspection
When conducting a comprehensive roof inspection, vigilance is crucial, but so is an awareness of common pitfalls. Many well-intentioned homeowners make simple errors that can not only compromise the inspection’s thoroughness but also their safety. By understanding these frequent missteps, you can ensure your roof inspection is not only effective but also secure.
Mistake 1: Neglecting Weather Considerations
Scheduling an inspection without regard to weather conditions can lead to skewed results or even personal injury. Inspections should be done during dry, calm days to avoid slipping hazards and to ensure a clear view of potential issues. Always check the forecast before setting out to examine your roof.
Mistake 2: Skimping on Safety Gear
Forgoing the necessary safety equipment is a risk that’s never worth taking. Ensure you have a solidly anchored ladder, wear shoes with good traction, and use gloves to protect your hands from sharp objects. Safety should never be compromised in the pursuit of home maintenance.
Mistake 3: Overlooking the Small Details
It’s easy to scan for large issues and miss the small problems like slight cracks or loose granules on shingles. Such indicators can hint at underlying issues that, if untreated, could lead to bigger problems. Take your time to carefully inspect every aspect of the roof surface.
Mistake 4: Ignoring Leaks Indoors
Failing to inspect the interior of your home for water damage can result in missing leaks that have found their way inside. Water stains on the ceiling or peeling paint can indicate a roof leak. During your roof inspection, remember to also check the attic and interior ceilings.
Mistake 5: Disregarding Flashing and Seals
Flashing and seals around roof penetrations are often the first to succumb to wear and tear. Neglecting them during an inspection can allow water intrusion at these vulnerable points. Inspect all seals closely and replace or repair any that show signs of damage.
Mistake 6: Not Cleaning Gutters
Allowing gutters and downspouts to remain clogged with debris can cause water to back up onto the roof. This can lead to rot and other moisture-related issues which could have been easily avoided with regular cleaning. It’s essential to keep these areas clear to maintain roof health.
Mistake 7: Missing Moss and Algae Growth
Ignoring the early stages of moss and algae growth might seem harmless but can lead to moisture retention and eventually, roof degradation. Use a moss-killing product and gently remove the growth to prevent further damage. Regular checks for such growth can prevent its recurrence.
Mistake 8: Failing to Document Findings
Not keeping a record of your roof’s condition can hinder future inspections and maintenance schedules. Document all issues, potential concerns, and areas that have been repaired. A well-kept log serves as a valuable reference for both you and any future roofing professionals.
Identifying and Managing Roof Damage
When the initial signs of roof damage appear, swift action can avert more severe problems. Minor issues like cracked caulking or a single missing shingle can escalate into leaks or larger structural concerns if left unattended. Regular checks, especially after extreme weather, provide an opportunity to catch and handle such damages promptly.
Addressing Leaks and Water Damage
Leaks present a significant threat to your roofing system, but early detection is key to managing this risk. Water stains on your ceilings or walls suggest a breach somewhere in your roofing, and a thorough check should follow to pinpoint the exact location. Should the task seem daunting, consider enlisting the expert services of Robison Roofing Services, Inc., especially if extensive storm damage is involved.