• Overview of essential steps for a pre-storm commercial roof inspection
• Tips for identifying vulnerable areas and potential hazards on your roof
• Advantages of professional roof inspection services for long-term maintenance and safety
Understanding the Signs: When to Schedule a Commercial Roof Inspection
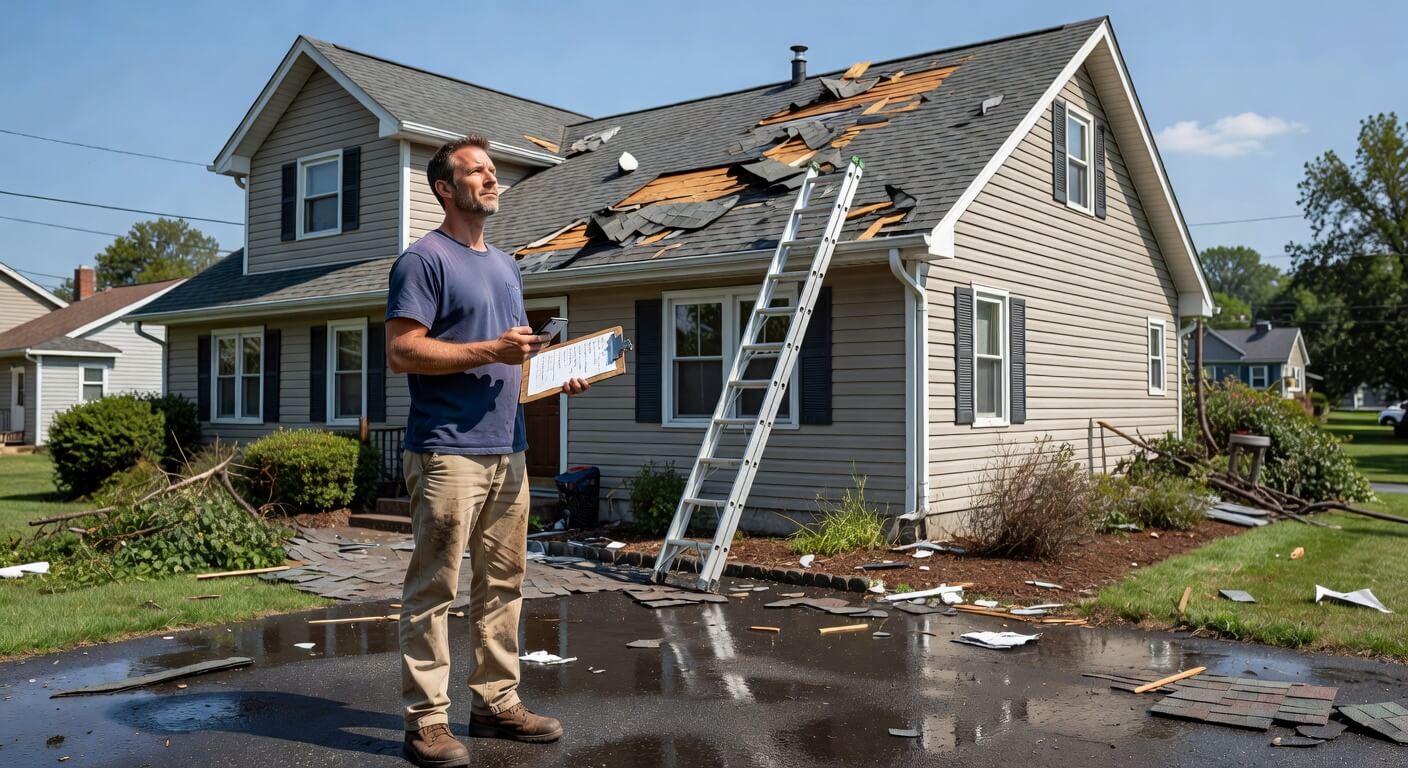
Before delving into the crucial steps of inspecting your commercial roof prior to winter storms, it’s essential to recognize the concerning signs that demand immediate attention. Sagging areas on the roof may indicate trapped moisture or weakened decking, while blocked drainage can be more than a minor inconvenience, possibly leading to water pooling and increased structural load. Should you spot granules from the roofing material accumulating in gutters, it’s a clear sign of advanced wear, underscoring the urgency for a professional inspection. Persistent dampness inside the building, especially after earlier storms, may also hint at hidden leaks that need a skilled eye to identify and correct.
Preparing for Inspection: The Right Time and Approach
Timing is everything when scheduling a commercial roof inspection before storms. Aim for a mild, clear day which affords the inspector adequate visibility and safety to conduct a thorough review of your roofing condition. It’s not just about checking off a box; early inspection can be the difference between a quick fix and costly reconstruction down the line. Therefore, plan and schedule this well before the winter fury and give your business the edge in storm preparedness.
Initial Steps to Ensure a Fruitful Inspection
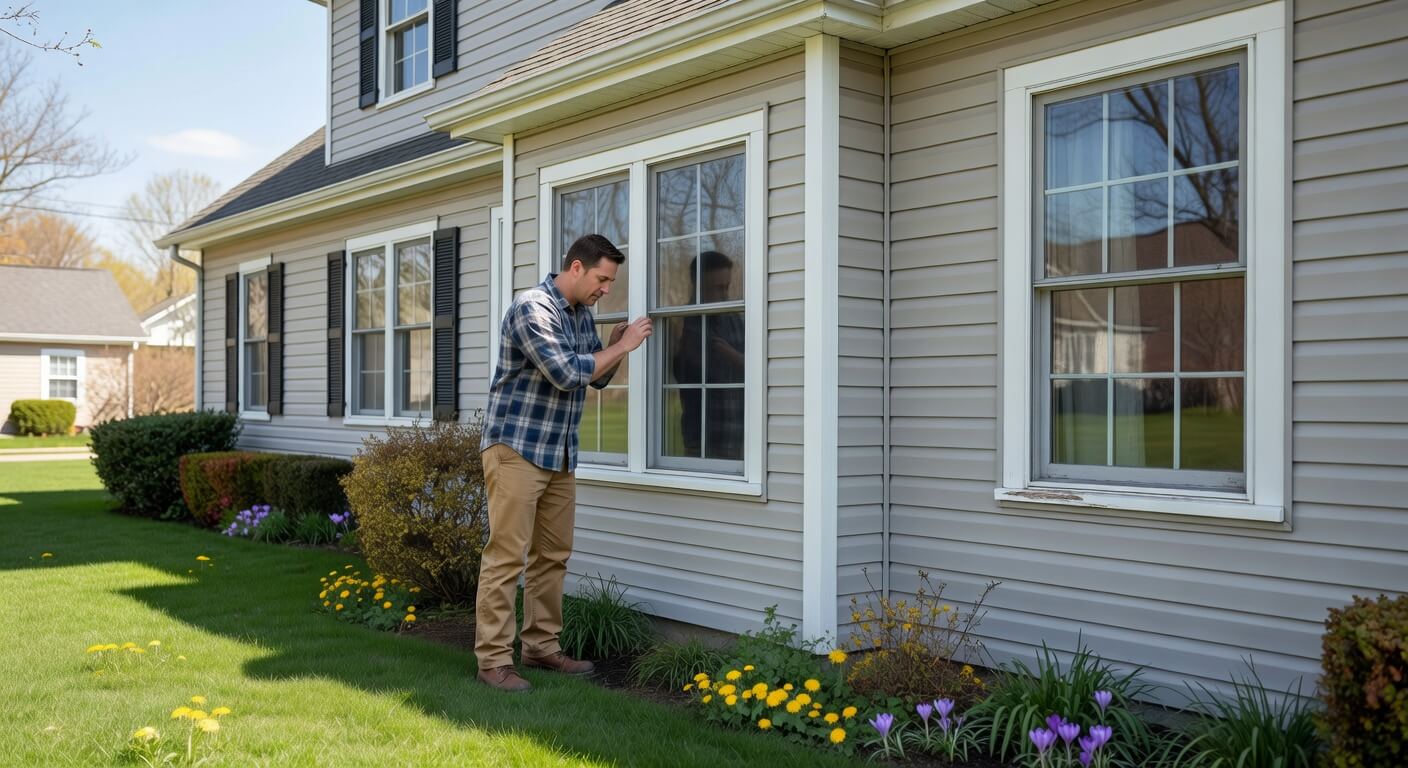
A proactive approach begins with an organized review of your roofing’s history; past inspection reports reveal narrative changes in your roof’s condition and inform the inspector of potential weak spots. Clearing the roof’s surface of debris like leaves and branches cannot be overstated, as this not only facilitates a smoother inspection process but also averts the disguise of existing or emerging structural challenges. Moreover, assessing the drainage system concomitantly highlights any imperative maintenance—clogged gutters or downspouts pre-storm can escalate to calamitous roofing failures. Following these pivotal steps sets the stage for a successful inspection that can save your commercial property from winter’s wrath.
Step-By-Step Roof Inspection Guide
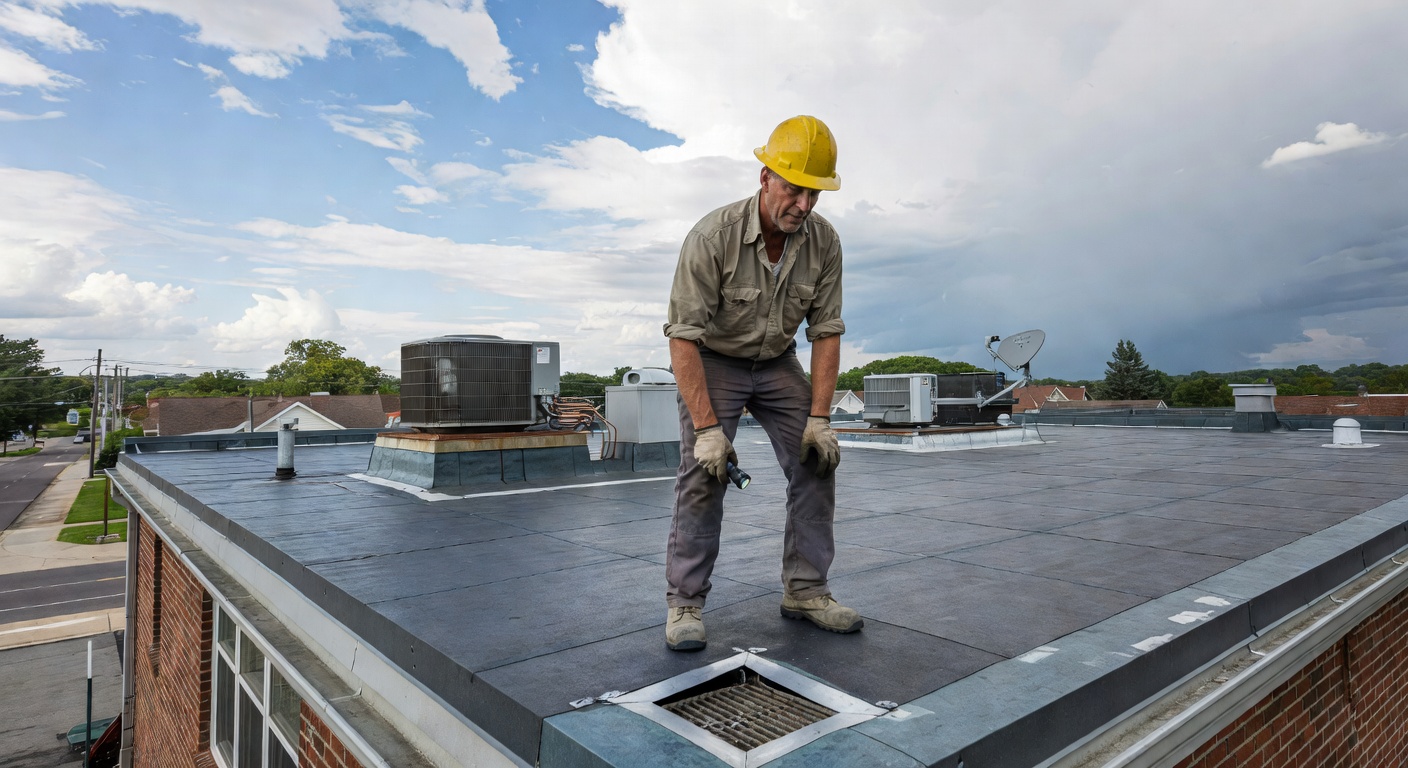
Conducting a roof inspection is paramount, and doing so meticulously could mean the difference between minor repairs and extensive damage control. Begin by examining the roofing material carefully; look for cracks, blisters, or any signs of loose material that could be compromised in severe weather. Pay special attention to the seams and flashing, as these are often the first to succumb to the elements. If any damage is discovered, it’s critical to document it with clear photographs and detailed notes, providing a reliable reference for necessary repairs or insurance claims.
Maintaining the Structural Integrity of Your Roof
Post-inspection, it’s vital to review the findings with an experienced contractor to establish a plan of action. This may include everything from scheduled maintenance to urgent repairs, all aimed at fortifying your roof against potential storm damage. If you’re uncertain about the state of your commercial roof or the next steps following an inspection, consider reaching out to Robison Roofing Services, Inc. They have the expertise and can advise on the best route to ensure your roof is in its best condition – a direct link to their services can be found here. Remember, proactive measures today can prevent costly setbacks tomorrow, and with winter around the corner in Pottstown, time is of the essence.
Step 1: Schedule the Inspection
Research local roofing experts in Pottstown who specialize in commercial roofing. Schedule the inspection for a clear day, ideally well before storm seasons peak in winter.
Step 2: Review Past Inspection Reports
Gather past reports for your commercial roof to provide the inspector with a history of maintenance and repairs, which can help them focus on potential weak points.
Step 3: Clear the Roof Surface
Ensure the roof is clear of debris and equipment to allow for an unhindered inspection. This includes removing leaves, branches, and other materials that could obscure damage.
Step 4: Check Drainage Systems
Inspect gutters, downspouts, and drains for blockages. Ensure they are secure and flowing freely to prevent water accumulation on the roof during storms.
Step 5: Inspect the Roofing Material
Examine the roof surface for signs of wear and tear, such as cracks, blisters, or loose material. Pay close attention to seams and flashing as vulnerable areas.
Step 6: Identify and Document Damage
Have the inspector document any instances of damage or areas in need of repair. Photographs and detailed notes will aid in post-inspection follow-up and repairs.
Step 7: Review Findings and Establish a Plan
After the inspection, review the findings and consult with your contractor on the necessary repairs or preventative measures to ensure the roof’s integrity before storms.
Step 8: Perform Maintenance and Repairs
Act on the inspector’s recommendations promptly. Schedule maintenance or repairs to resolve any identified issues, reinforcing your commercial roof against upcoming storms.
Common Mistakes to Avoid During Roof Inspection and Maintenance
Performing a DIY roof inspection prior to storm season may seem like a cost-effective solution but can lead to costly errors if not done properly. Many property owners in Pottstown fall into traps of common misconceptions and mistakes. Understanding these pitfalls and knowing how to sidestep them is crucial for the health of your commercial roofing system.
Mistake #1: Neglecting Professional Expertise
Many business owners underestimate the complexity of a commercial roof inspection, opting to go the DIY route without professional guidance. This can result in missed signs of wear or impending failures, especially tricky to spot without the trained eye of an expert. Prevent this by researching local roofing specialists who understand Pottstown’s weather patterns and can schedule a proper inspection before the harsh winter storms.
Mistake #2: Not Reviewing Historical Data
Skipping the step of reviewing past inspection reports can leave you blind to recurring issues or slow-developing problems. This historical insight is pivotal in predicting and preparing for potential vulnerabilities. Always gather and peruse previous inspection documents to provide the inspector with a comprehensive understanding of your roof’s health profile.
Mistake #3: Overlooking the Roof’s Cleanliness
A common misstep is failing to clear the roof of debris before an inspection, which can hide underlying damage and lead to inaccurate assessments. Make it a regular practice to keep the roof surface free from leaves, branches, and other obstructions to allow a thorough and unobstructed examination.
Mistake #4: Ignoring Drainage System Blockages
Many don’t give due diligence to inspecting their roof’s drainage systems regularly. Clogs in your gutters and downspouts can cause water to pool and lead to significant damage during storms. Check and clear your roof’s drainage system frequently, ensuring they are secure and unobstructed to encourage proper water flow.
Mistake #5: Inadequate Roofing Material Checks
Some attempt to inspect roofing materials without knowledge of what wear and tear looks like or the best methods for fixing it. Cracks and blisters should be looked for with vigilance, given Pottstown’s extremes. Always inspect the seams and flashing closely and seek professional help to address any discovered issues.
Mistake #6: Poor Damage Documentation
Failing to document damage accurately can create challenges when it’s time to perform repairs or file an insurance claim. Always use a camera to document any damage you find, supplemented with detailed notes that can guide future repair work or claims processing.
Mistake #7: Delayed Action on Inspection Findings
Putting off necessary repairs or preventative actions post-inspection is a dangerous delay, especially with impending storms. Once you have the inspection findings, collaborate with your roofing contractor to map out and execute a timely response plan that addresses all areas of concern.
Mistake #8: Postponing Maintenance and Repairs
Lastly, procrastinating on scheduled maintenance or repairs after diagnosis can lead to exacerbated issues, particularly under winter storm conditions. Prioritize the health of your commercial roof by acting on the inspector’s recommendations without delay to ensure a robust defense against the oncoming winter weather.
Action Steps after the Roof Inspection
The aftermath of a thorough roof inspection leaves you with a series of actionable steps that could be pivotal in safeguarding one of your commercial property’s most significant defenses. Sealing any identified leaks and repairing damaged areas ensures the roof’s competence against Pottstown’s harshest winter conditions. For specialized post-inspection services, Robison Roofing Services, Inc. stands ready to assist; explore their wide range of solutions, including storm damage restoration, tailored to meet your needs.
Preventative Measures: The Key to Long-Term Roof Health
Preventative maintenance can’t be understated when it comes to commercial roofing. Regularly scheduled inspections and timely repairs not only mitigate the risks of storm damage but also extend the lifespan of your roof. By investing in the ongoing health of your commercial roof, you assure not just a season, but years of reliable protection, a commitment Robison Roofing Services, Inc. echoes with their dedication to quality roofing services.