• Navigate insurance claims like a pro: Step-by-step guide ensures your roofing damage is properly documented and reported.
• Avoid common mistakes: Learn what not to do when filing insurance claims to ensure maximum coverage for roofing repairs.
• Expert advice at your fingertips: Discover the insider tips for dealing with adjusters and securing the best outcome for your roofing needs.
Spotting the Red Flags: Early Signs of Roof Troubles
Your home’s roof is a silent protector, often overlooked until telltale trouble signs begin to surface. Before delving into the intricacies of navigating insurance claims for roofing, it’s crucial to recognize these problematic symptoms. Missing, warped, or damaged shingles are blatant indicators that your roof needs attention. Inspect your attic for leaks after a storm; water stains could signal a compromised roof, necessitating a thorough evaluation and potential claim.
When Is It More Than Just a Leak?
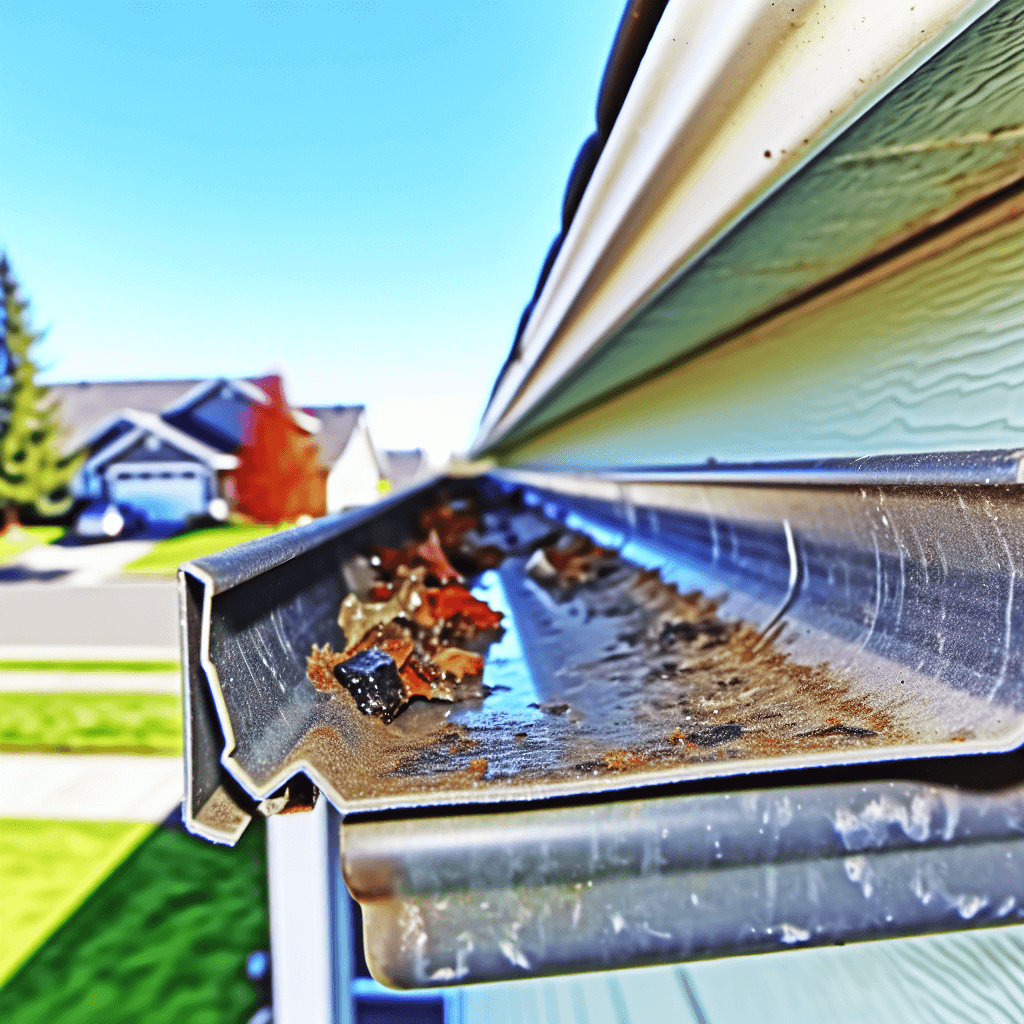
Initial signs of trouble may seem benign, like a small drip or a draft, but they can escalate quickly, unveiling more significant issues at your roof’s core. Discoloration on walls or ceilings, mold growth, and an unexplained spike in energy bills may point to insulation problems due to roof damage. It’s also wise to note any sagging rooflines or clogged gutters filled with granules; these are signs your roofing materials are deteriorating and possibly affecting the integrity of your home. Taking swift action can prevent more extensive damage and make the upcoming claims process smoother.
Detecting the Unseen Culprits
While obvious damages are easy to spot, it’s the subtle that often goes unnoticed. Be vigilant of minor cracks and splits around roof fixtures, as these can expand and cause major issues. Pay attention to the state of your flashing — the thin pieces of metal that direct water away from critical areas; if they’re loose or missing, water can seep into places it shouldn’t. Wind may have uplifted tiles subtly, a situation only noticeable upon close inspection, yet this too can lead to leaks and subsequent water damage. Early detection is pivotal; it strengthens your position when you start navigating the intricacies of your insurance policy and pushing claims forward.
Taking the First Steps: The Policy Review
Understanding your roofing insurance policy is akin to reading a map before a journey; it prepares you for the road ahead. Gain clarity on your coverage by meticulously reviewing what is clearly stated in your insurance policy. This includes the scope of coverage, your deductibles, and any exclusions that might impact a future claim. This level of preparedness is not only reassuring but also positions you to act quickly and wisely should roof damage occur.
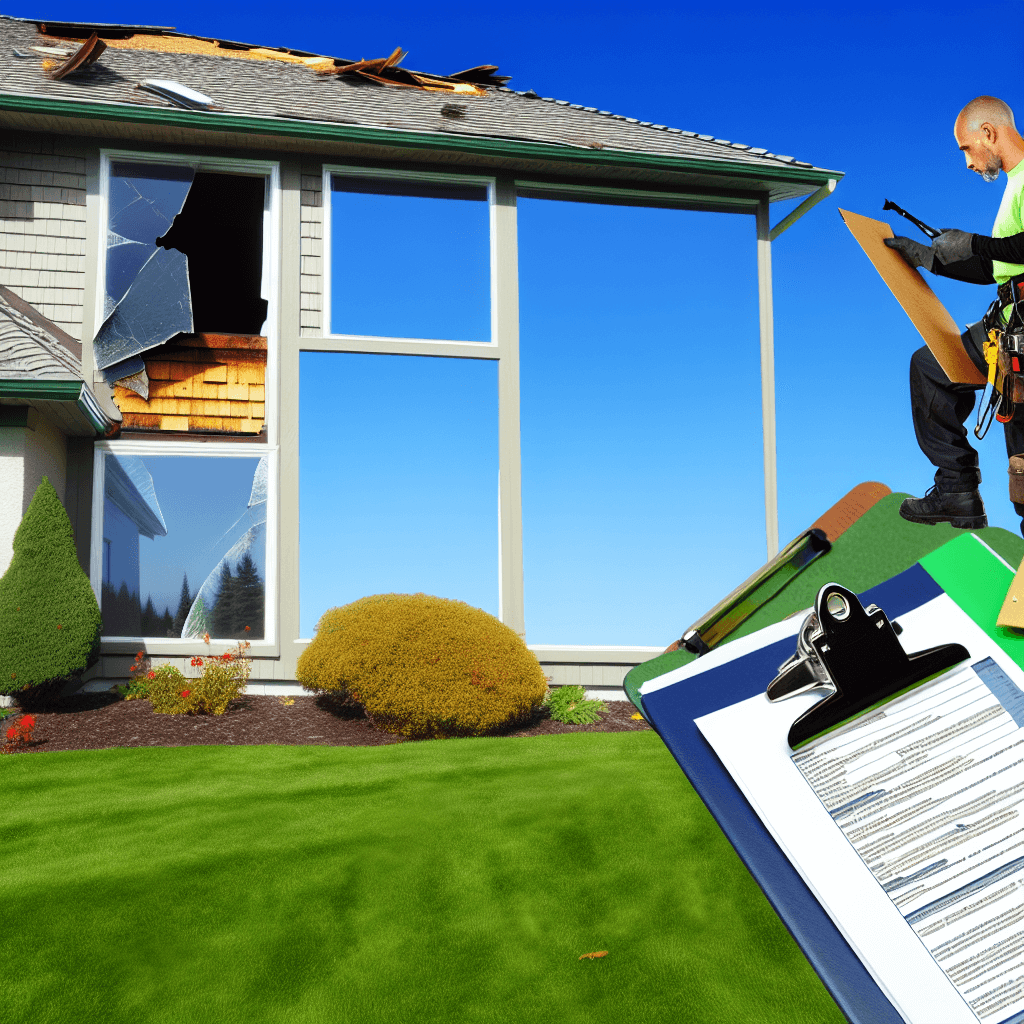
Gathering Evidence: Documenting Damage
When your roof is compromised, time is of the essence, not only for repairs but for a well-documented insurance claim. Begin by conducting a thorough inspection of your roof, noting each area that’s endured damage. Capture high-resolution images to chronicle these issues as tangible proof for your insurer. And remember, when it comes to proving the extent of damage, more evidence is better, so be as detailed and exhaustive in your effort as possible.
For expert assistance, remember that Robison Roofing Services Inc. offers comprehensive solutions, from storm damage restoration to routine maintenance, to keep your roof in top condition.
Step 1: Understanding Your Roofing Insurance Policy
Learn the specifics of your policy coverage, including what is and isn’t covered under your roofing insurance. Review your policy’s declarations page for details on coverage limits and deductibles.
Step 2: Documenting Roof Damage
Inspect your roof for damage, and take clear, high-resolution photos from multiple angles. Document the date of inspection and any relevant weather events that could have caused the damage.
Step 3: Reporting the Damage to Your Insurance Company
Contact your insurance provider promptly to notify them of the damage. Follow their process for submitting a claim, which may include filling out claim forms and providing documentation of the damage.
Step 4: Preparing for the Insurance Adjuster’s Visit
Prepare for the adjuster by having all documentation of the damage, repair estimates, and a copy of your policy on hand. Make a list of specific areas of your roof you’ve identified as damaged.
Step 5: Navigating the Adjuster’s Evaluation
Accompany the adjuster during the inspection to ensure they note all areas of damage. Answer questions honestly, but do not admit fault or speculate on costs of repair.
Step 6: Reviewing the Insurance Company’s Estimate
Once the adjuster provides their report, review it thoroughly. Check that all observed damages are mentioned, and that the cost estimates are reasonable according to your research.
Step 7: Disputing the Claim Assessment if Necessary
If you disagree with the adjuster’s assessment, gather additional documentation like extra repair estimates from roofing contractors to dispute the claim.
Step 8: Finalizing the Claim and Repairing Your Roof
After settling on a claim amount, select a reputable contractor to repair your roof. Ensure the work is performed to the highest standard to prevent future issues and adhere to insurance company guidelines to maintain coverage.
Steering Clear of Common Pitfalls: What Not to Do
When navigating the complexities of roofing insurance claims, it’s easy to stumble into common pitfalls that can jeopardize your claim. This section outlines frequent mistakes that policyholders make during the DIY claims process. By understanding these pitfalls, you can streamline your claim, ensuring a smoother experience and a better outcome for your roofing repair needs.
Mistake 1: Not Reviewing Your Policy in Detail
Many homeowners make the mistake of not thoroughly understanding their insurance policy before a claim occurs. This oversight can lead to confusion about what is covered and unexpected out-of-pocket expenses. To prevent this, review your declarations page meticulously and consult with your insurance agent to clarify any ambiguities before you need to file a claim.
Mistake 2: Inadequate Documentation of Damage
A common error is not taking enough detailed photos or neglecting to note the date and weather conditions during the damage. Such insufficient documentation can weaken your claim, as insurers require clear evidence to process it efficiently. Prevent this by systematically capturing high-resolution images from various angles and carefully recording all relevant information immediately after the damage is discovered.
Mistake 3: Delaying Communication with Your Insurer
Waiting too long to report the damage is a frequent slip-up. Delayed reporting not only risks further damage but may also raise questions about the claim’s validity. Promptly contact your insurer to report the damage, adhering strictly to their claim filing process.
Mistake 4: Being Unprepared for the Adjuster’s Visit
Homeowners often fall short by not having all necessary documentation ready for the adjuster’s visit. This can lead to an incomplete assessment of the damage. Have all your documentation, a list of damaged areas, and any repair estimates available for the adjuster to ensure a thorough inspection.
Mistake 5: Accepting the Initial Estimate Without Question
Accepting the first estimate without question is a frequent misstep. Insurers often give preliminary estimates that may not cover all repair costs. Review the adjuster’s report rigorously, and if necessary, discuss the valuation with your roofing contractor to ensure it covers all necessary repairs.
Mistake 6: Forgoing Professional Estimates for Disputes
Not seeking second opinions for disputing a claim is another notable error. If you question the adjuster’s assessment, secure additional professional estimates for a stronger case in your dispute. Professional quotes provide objective figures to validate your claim and strengthen your negotiating position.
Mistake 7: Selecting an Inexperienced Contractor for Repairs
Choosing an unqualified contractor to save on repair costs can lead to subpar work that may not meet your insurer’s standards. Opt for reputable, experienced roofing professionals who are well-versed in working with insurance claims and can repair your roof according to industry standards, thereby preventing future issues and ensuring compliance with policy requirements.
Engaging With the Insurance Adjuster
When the insurance adjuster visits, your preparation will directly influence the outcome of their assessment. Ensure they see every issue by accompanying them during the inspection and pointing out all documented damages. Your upfront diligence and comprehensive records will streamline this process, enabling a more accurate estimate of your roofing needs.
Constructive Communication: Review and Dispute
After the adjuster’s evaluation, compare their report findings with your personal inspection and repair estimates. Don’t hesitate to voice concerns if their assessment doesn’t align with your documentation. In such cases, an accurate and concise presentation of your evidence and additional quotes from respected contractors, like Robison Roofing Services, Inc., can be pivotal in disputing and revising claim estimates.